PROJECT OVERVIEW
Team Members: Angela Piccolo and Joo Oh
Goals of the project: 1. To create a tangible working prototype for a scenario where solutions tend to be digital. 2. To learn how to work with Arduino as a prototyping tool.
We started out brainstorming to decide what type of tangible interaction we wanted to create. A couple of questions we considered were, what if a chair could detect if someone is falling asleep in class? Or another, what if a table could sense if someone is overwhelmed or anxious at work? The question we decided to go with was, what if a table could express how much loved ones miss/love you?
Both Joo and I live far away from our families during school and we are always looking for ways to have more meaningful interactions with family members to grow and maintain special relationships with those at home. We wanted to a create an interaction that provided joy and benefit to both sides of the interaction.
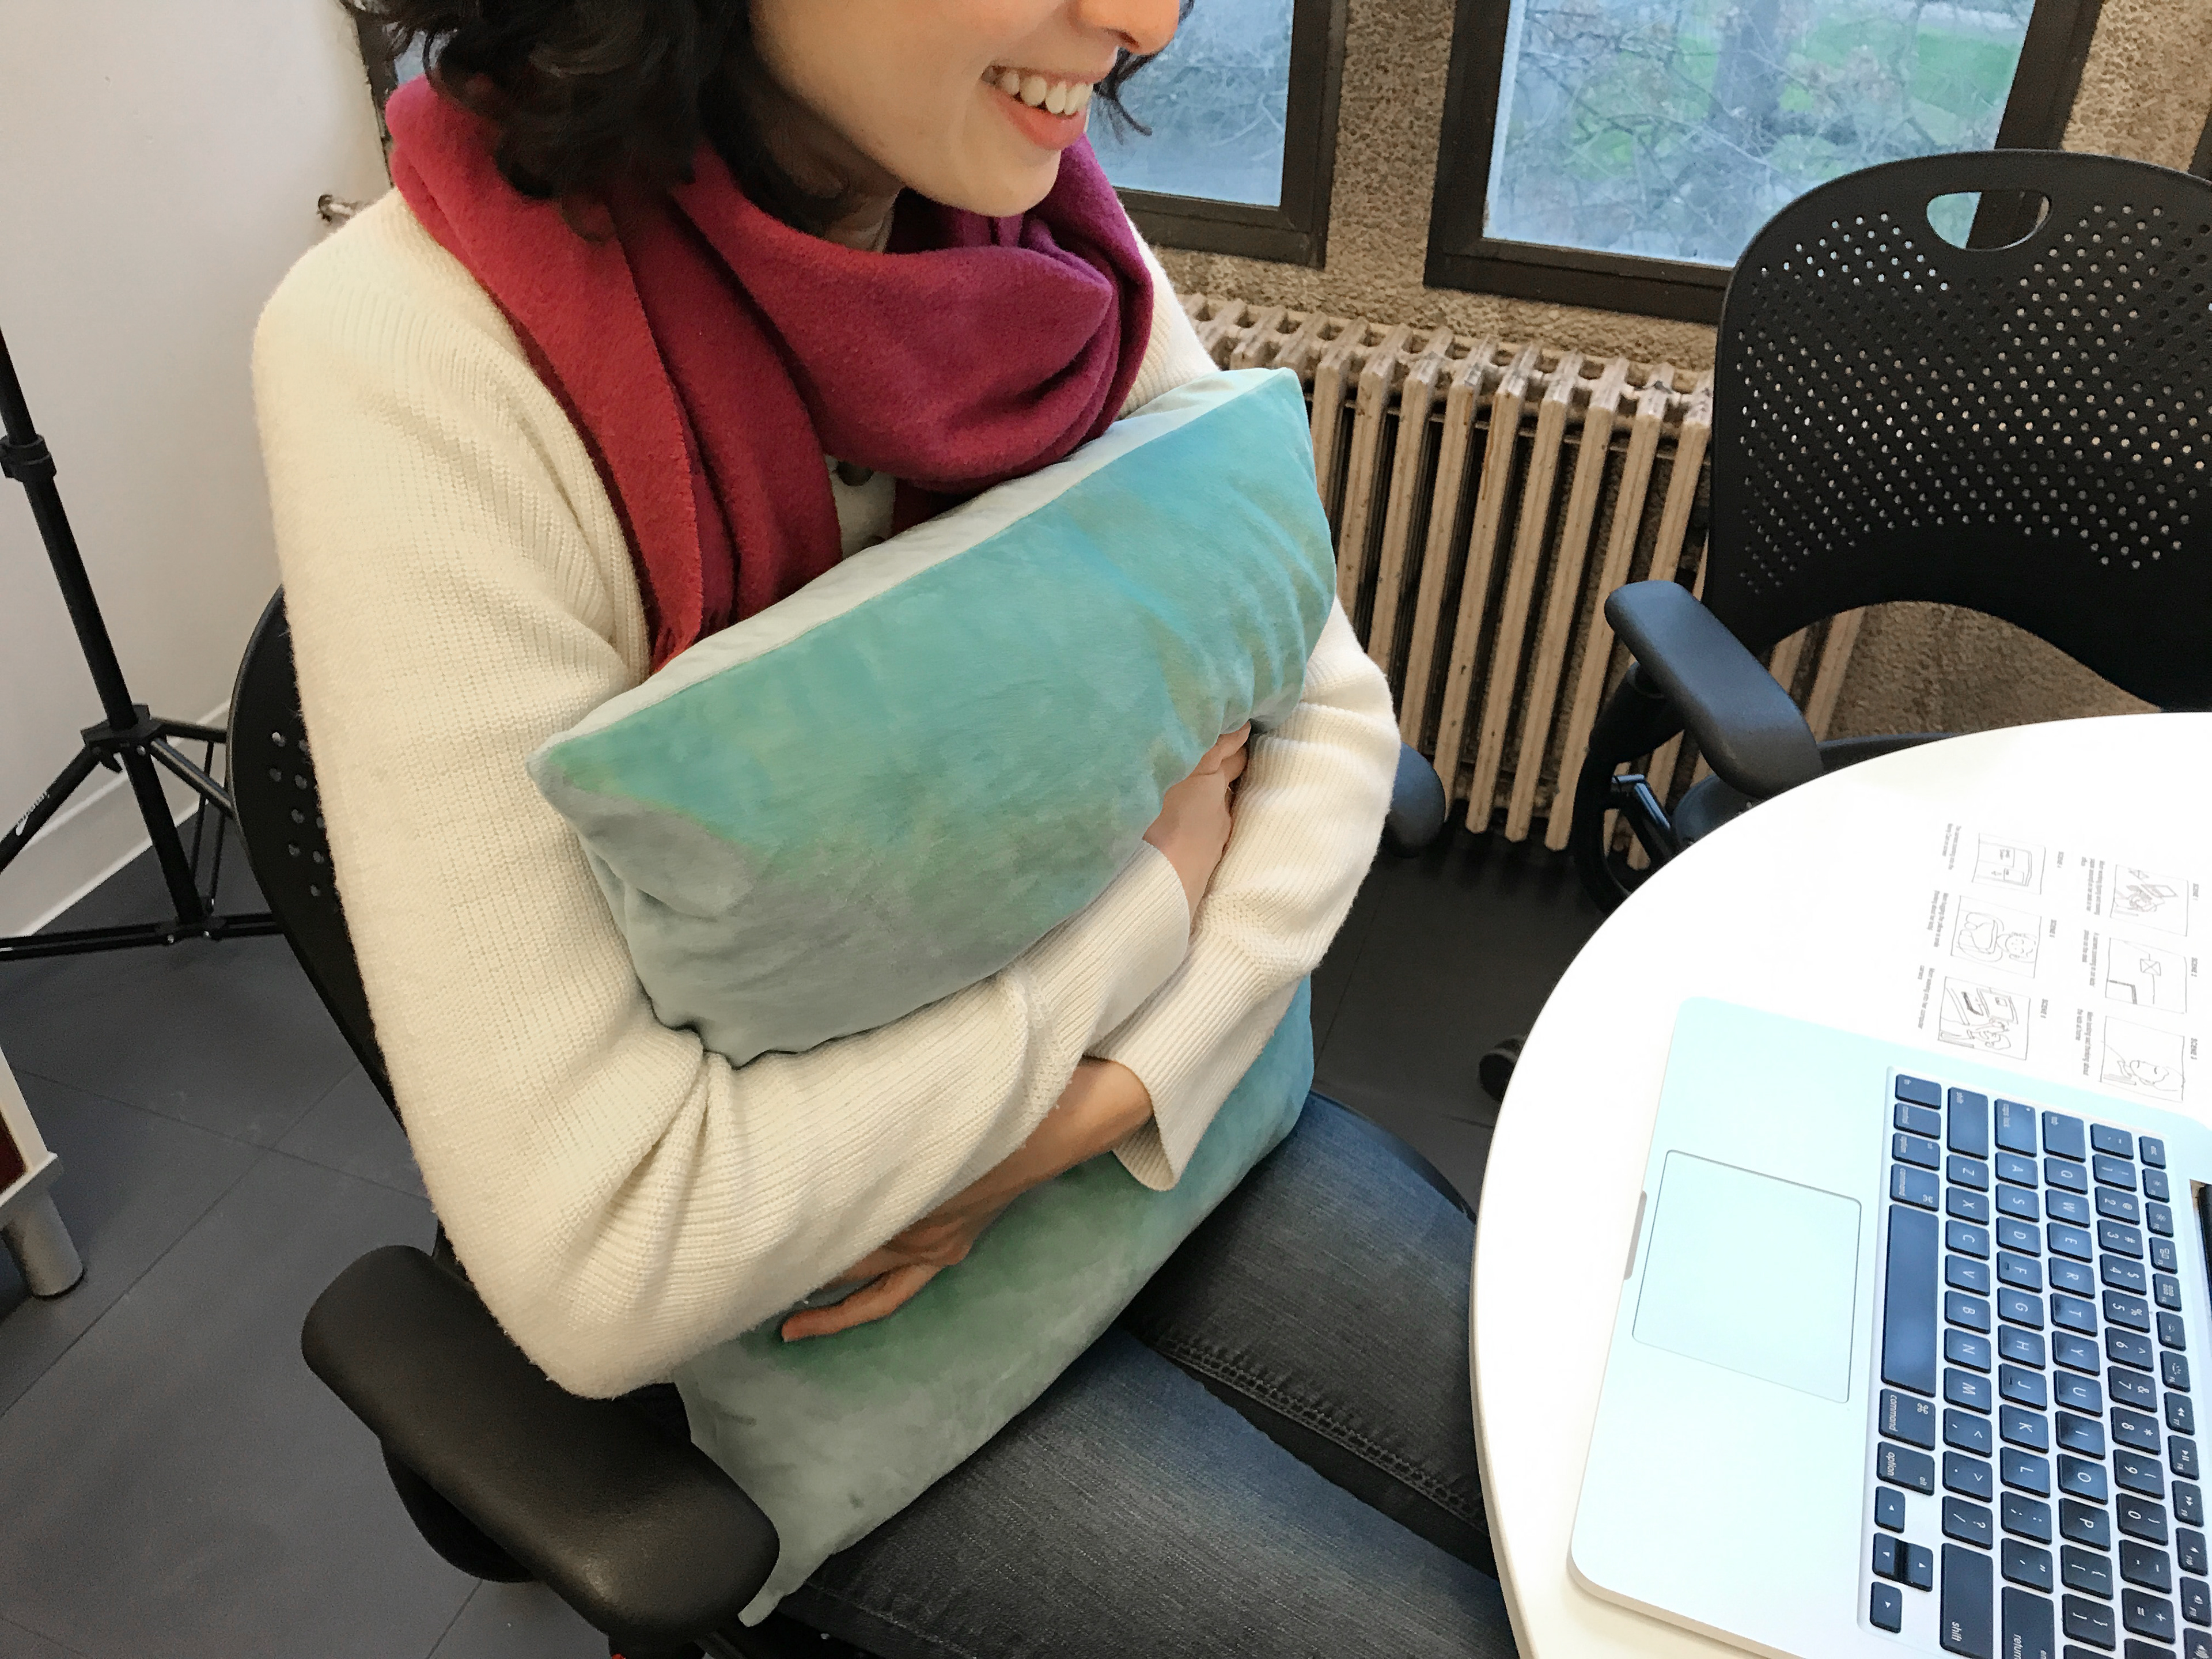
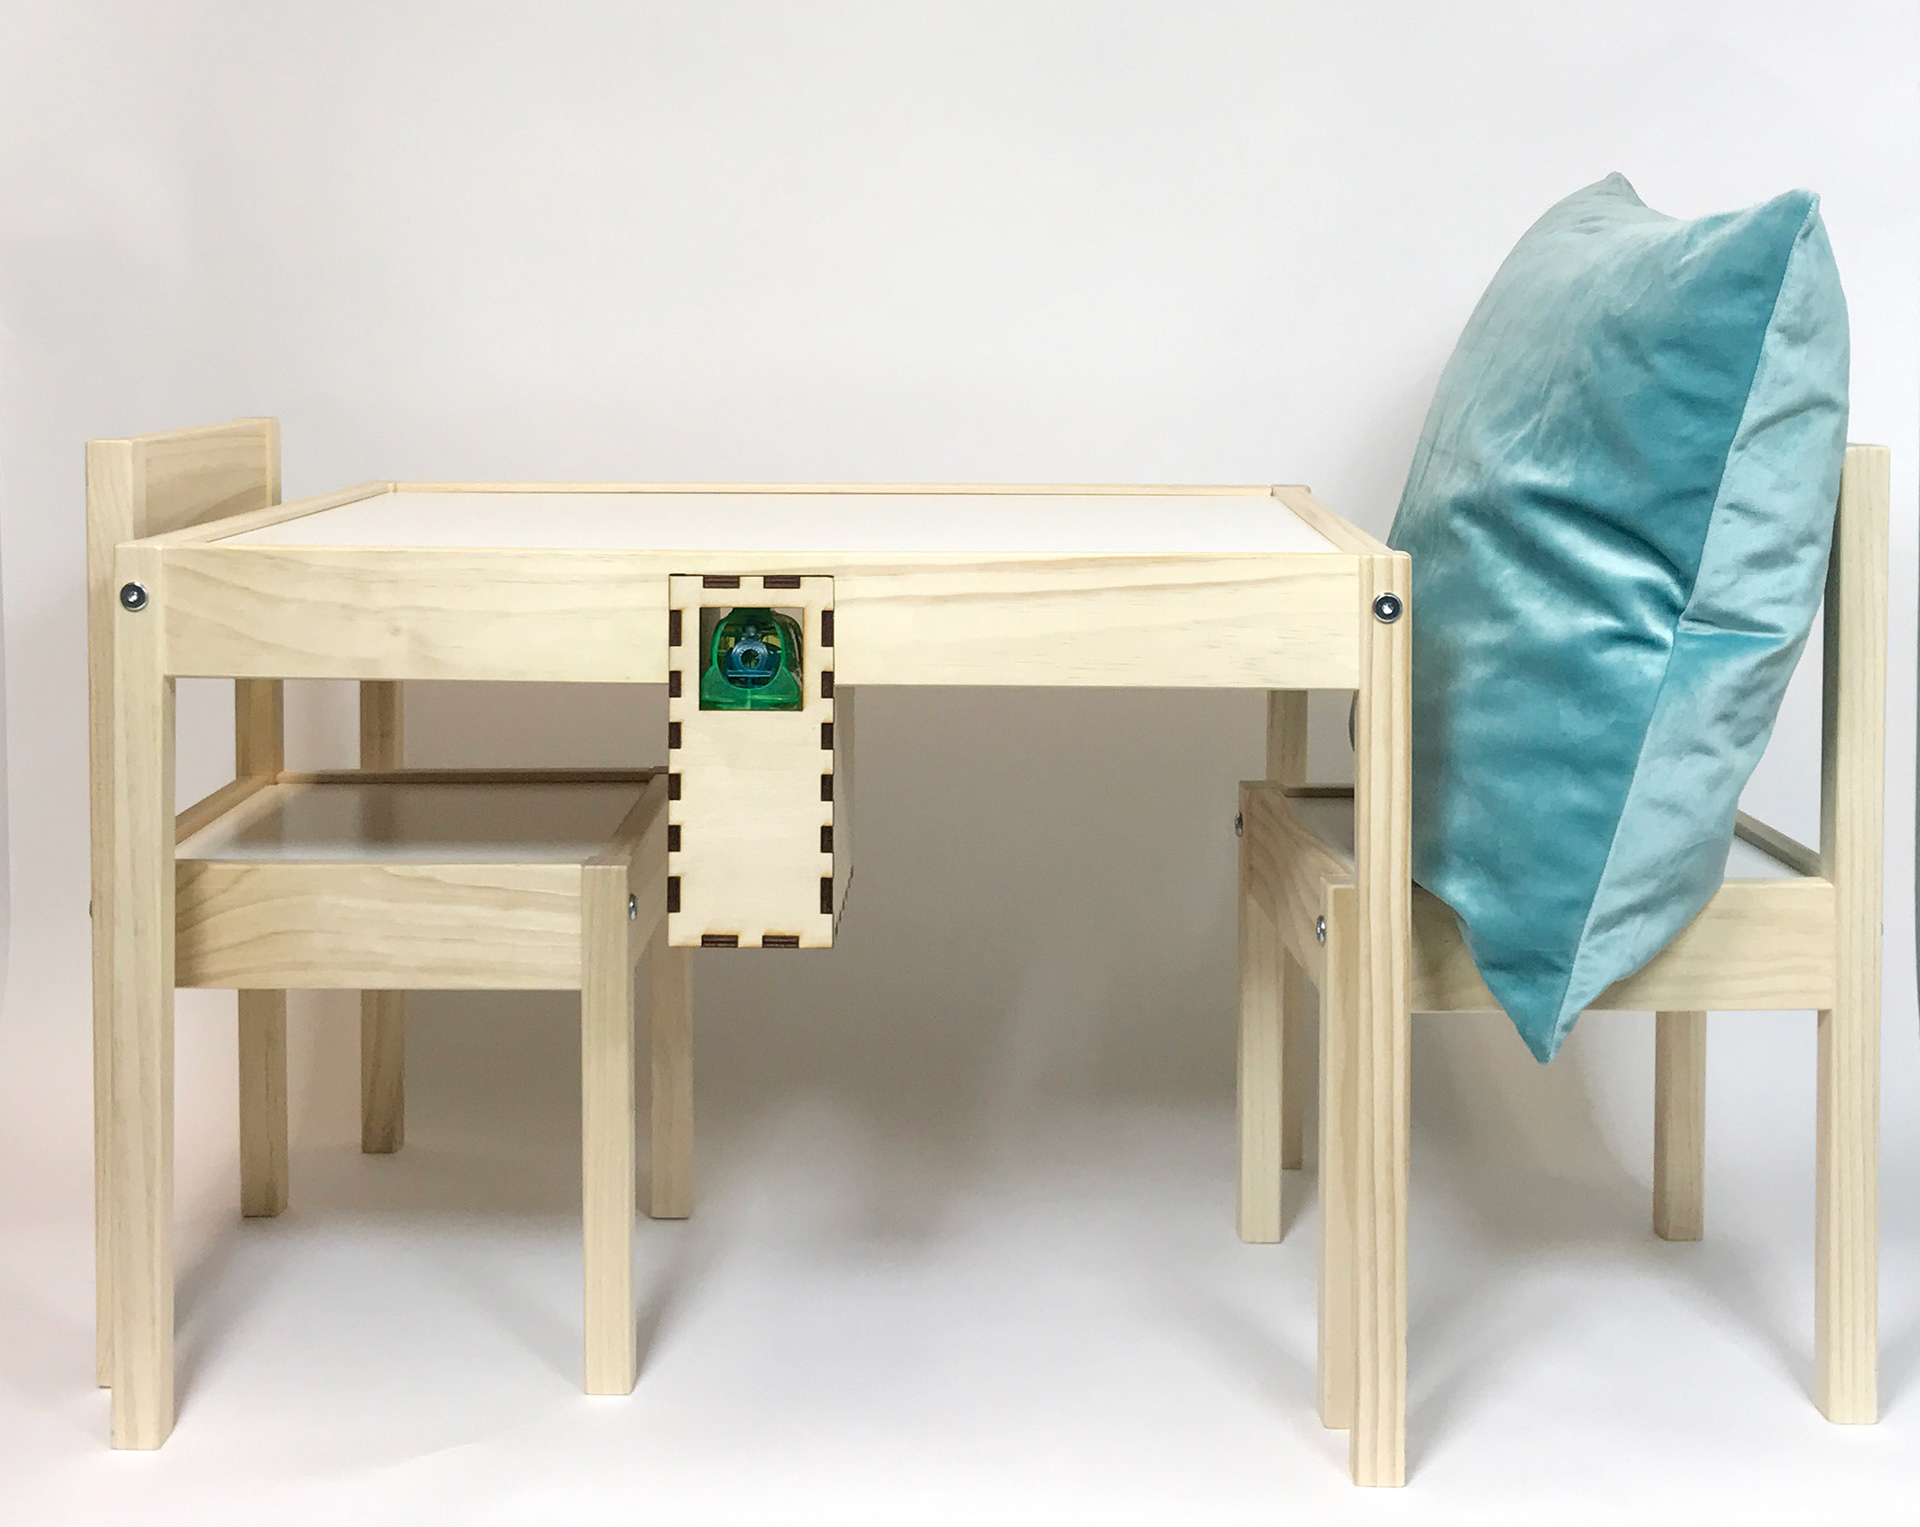
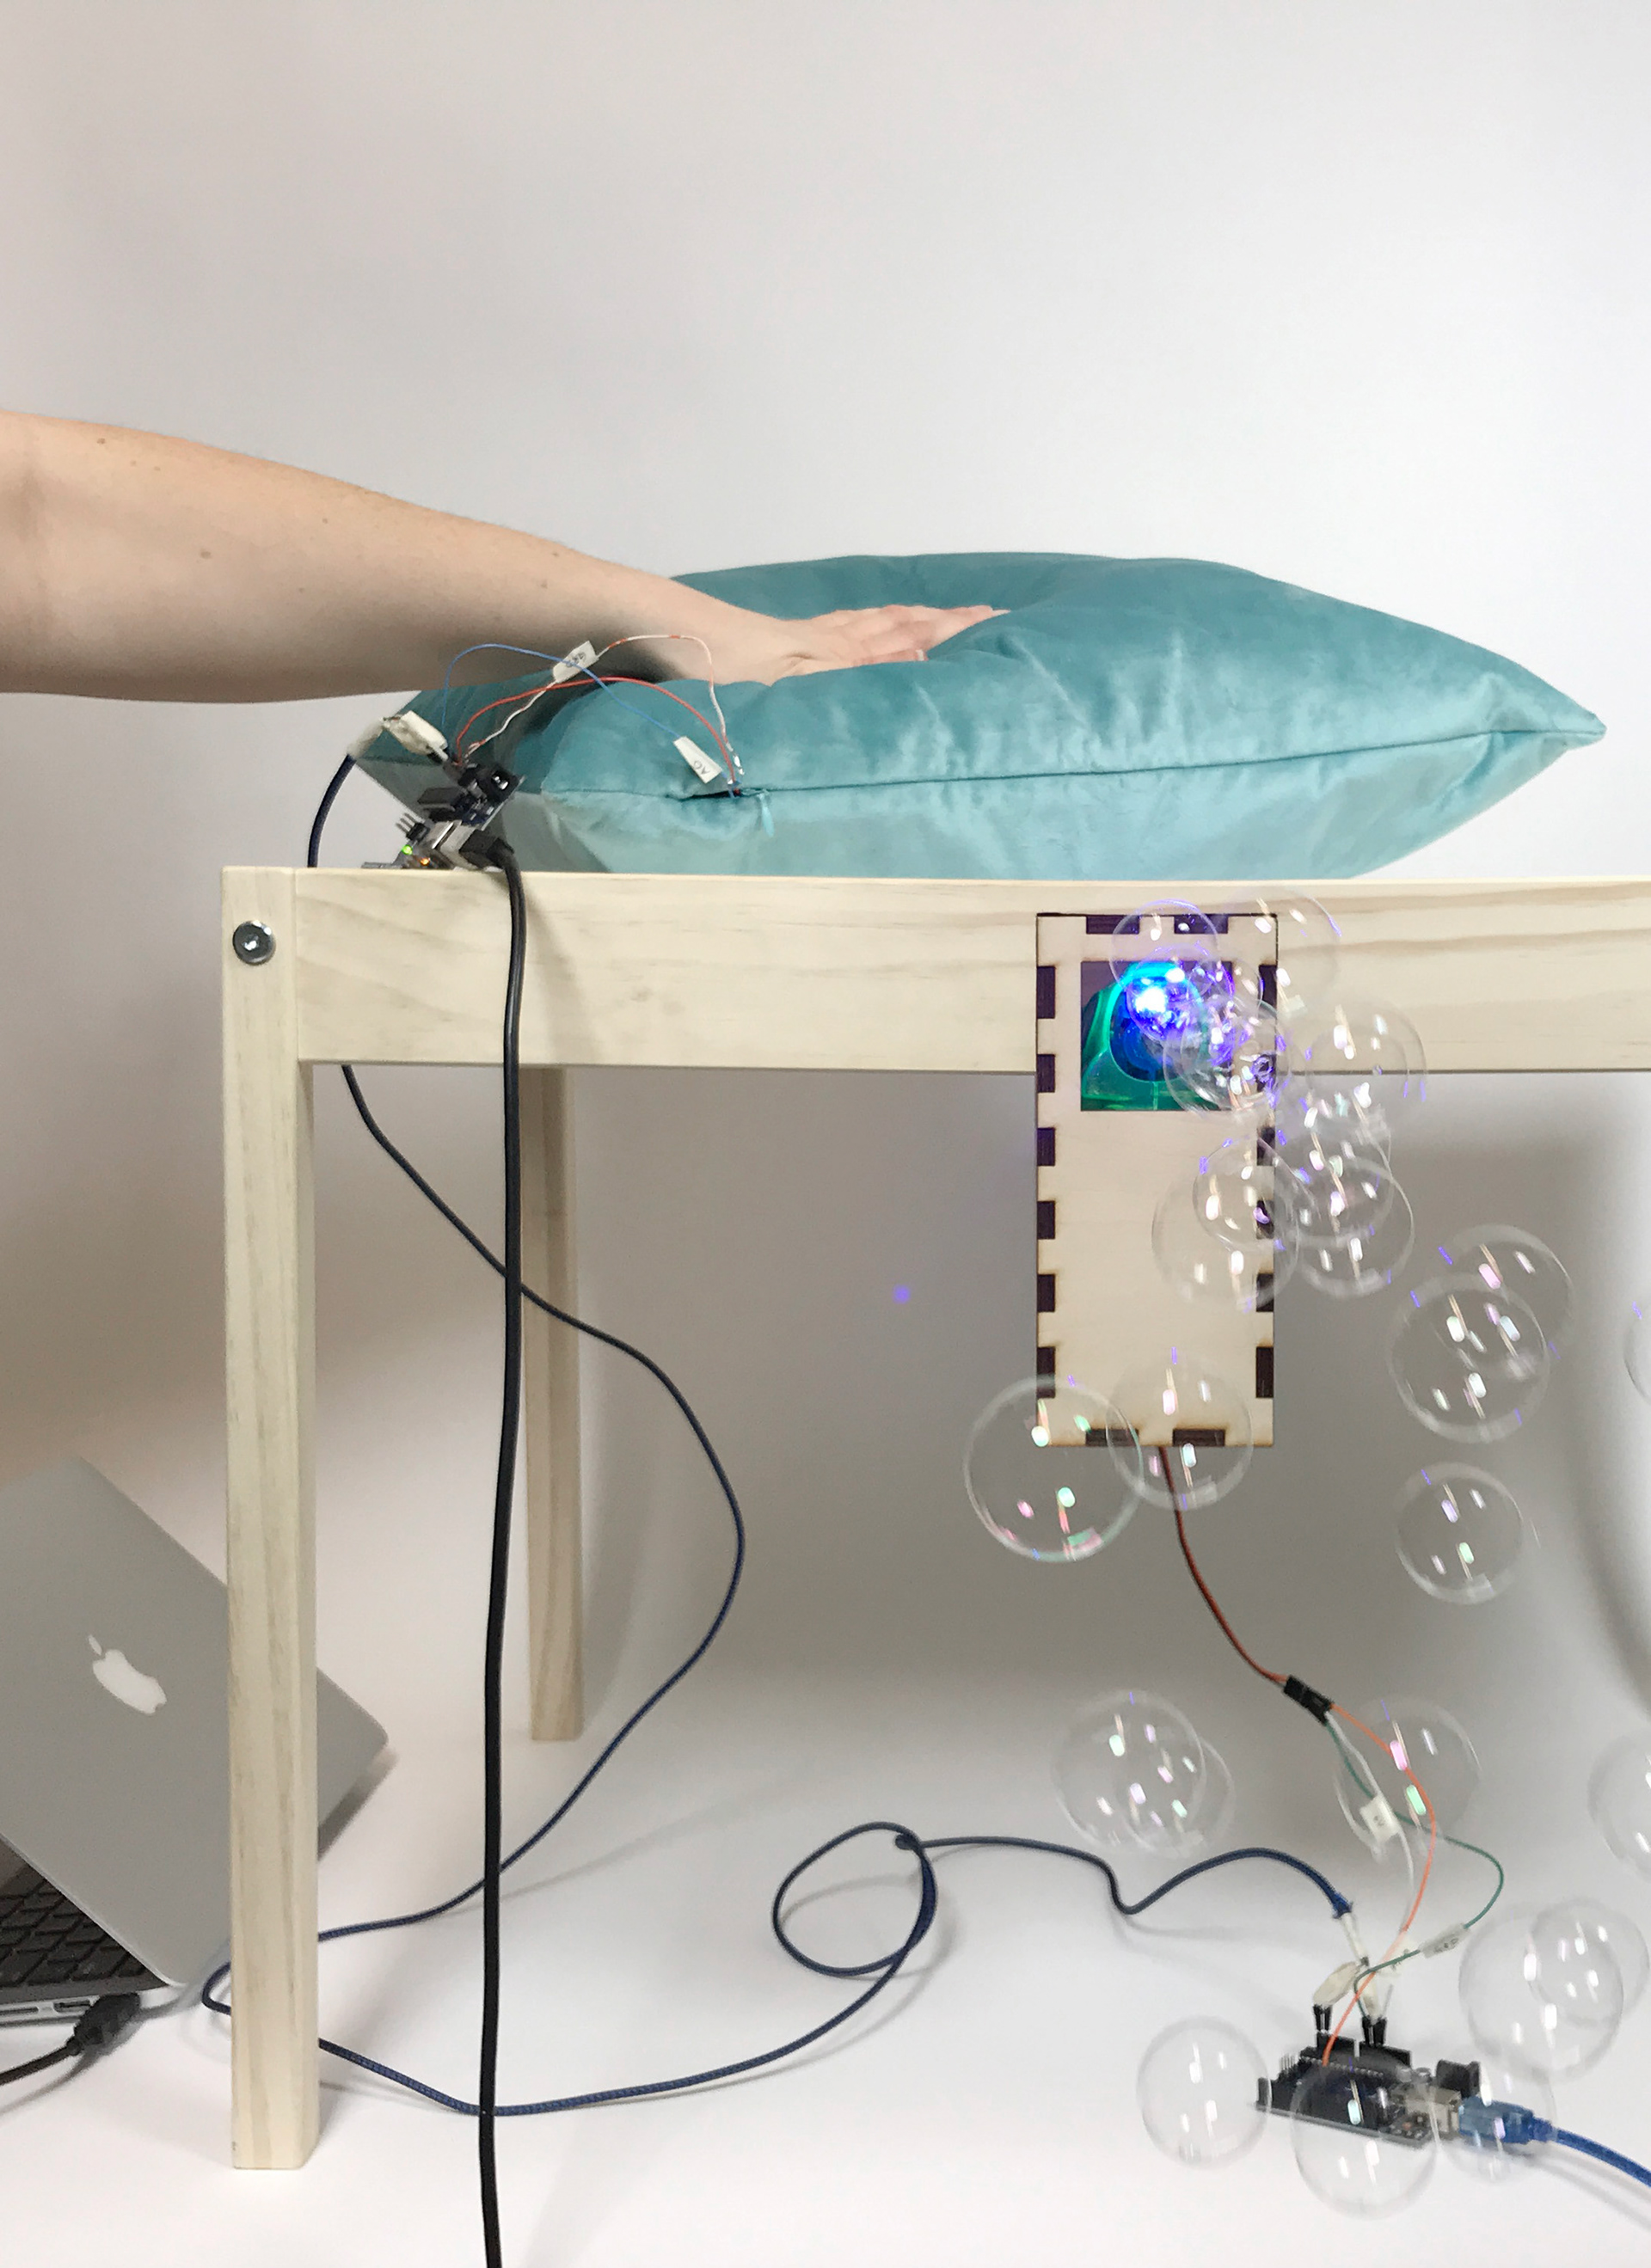
So we went through further ideation where we imagined various ways an interaction where two people are not physically with each other where they could express joy and love for one another beyond phone calls and messages. And the interaction we came up with was one person can hug their pillow when they are missing their loved one or simply want to express love and then the other person in the interaction has a table with our built in bubble maker in it and when the pillow is hugged bubbles come out of the table for the other person to enjoy and they instantly know who is thinking of them!


PROCESS
Here is an overview concept diagram explaining our Arduino project we have created. First, you start at the orange box where the sensing is happening in the pillow in one location. The person with the pillow will hug it when they want to share joy or love to someone else in a different location. When there is a pressure above 300 the reading is sent from Arduino 1 to Arduino 2. For our prototype, we have used long cords to show what the interaction would be like if we worked wirelessly. Once the reading has been sent from Arduino to Arduino if the reading is high enough it will activate the servo on our bubble gun inside of our kids' table. This will make bubbles come out! Both of the Arduino boards will be connected to a USB port to either a computer or wall plug to power the project.

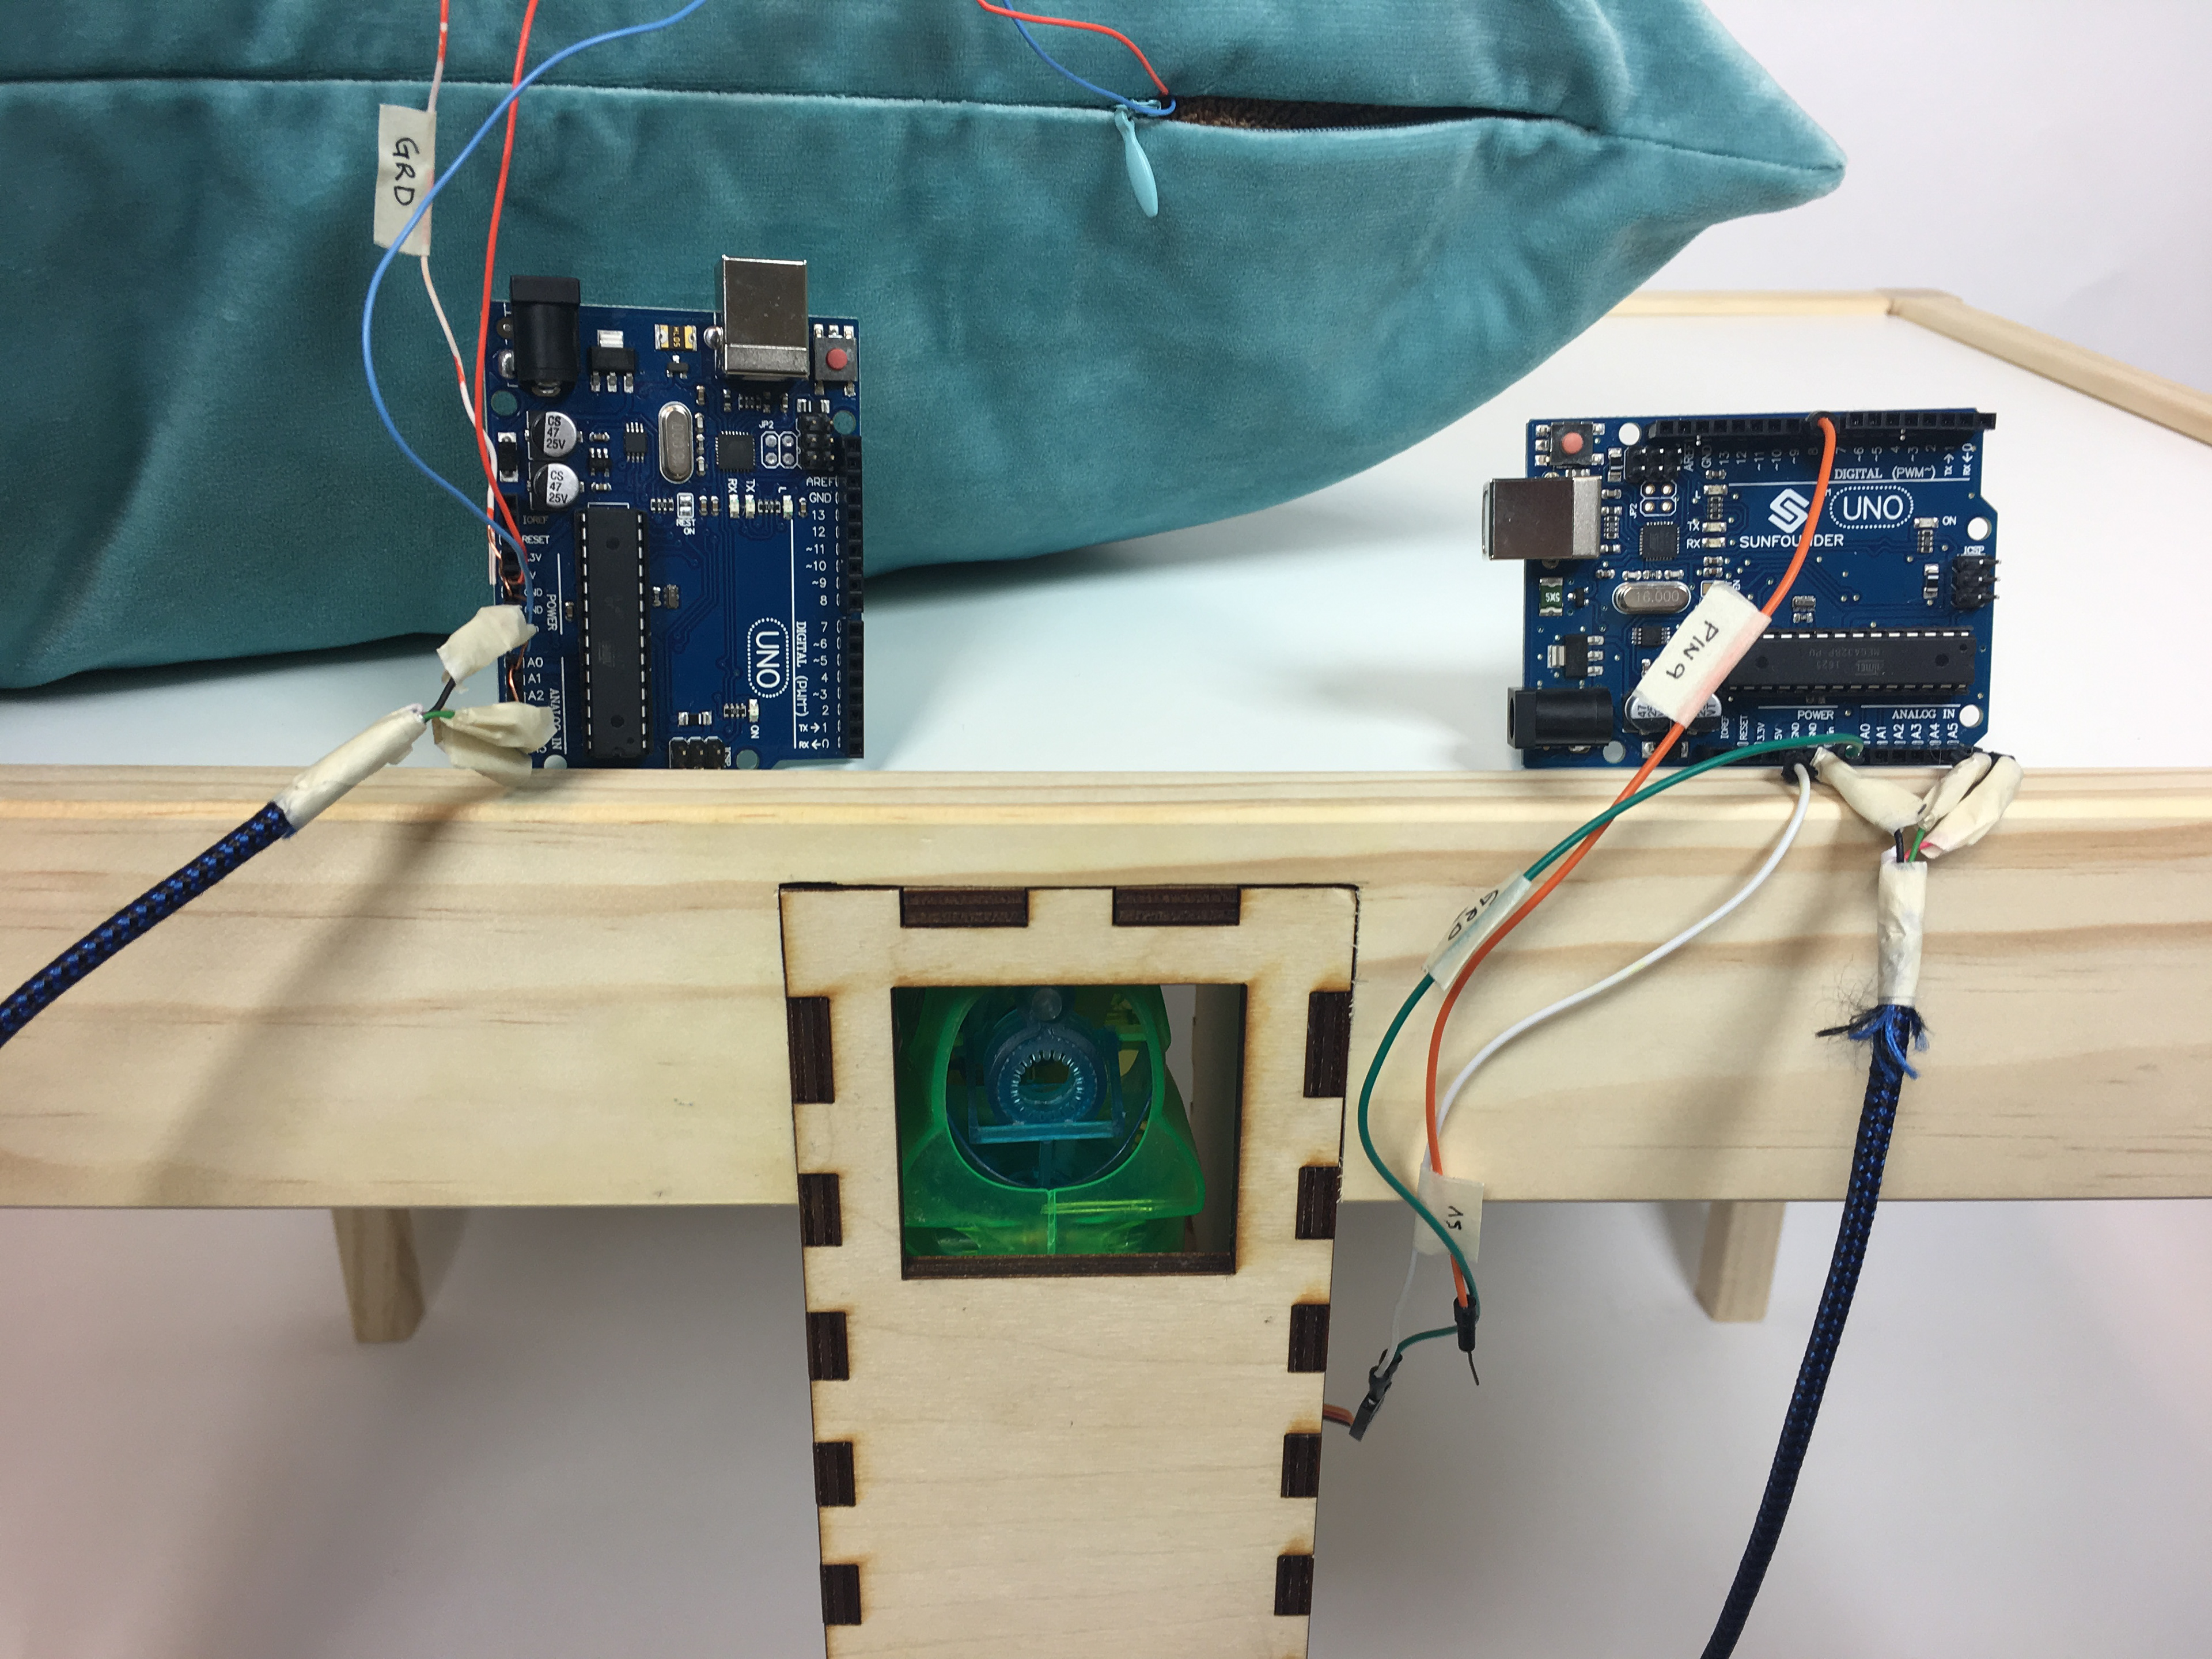
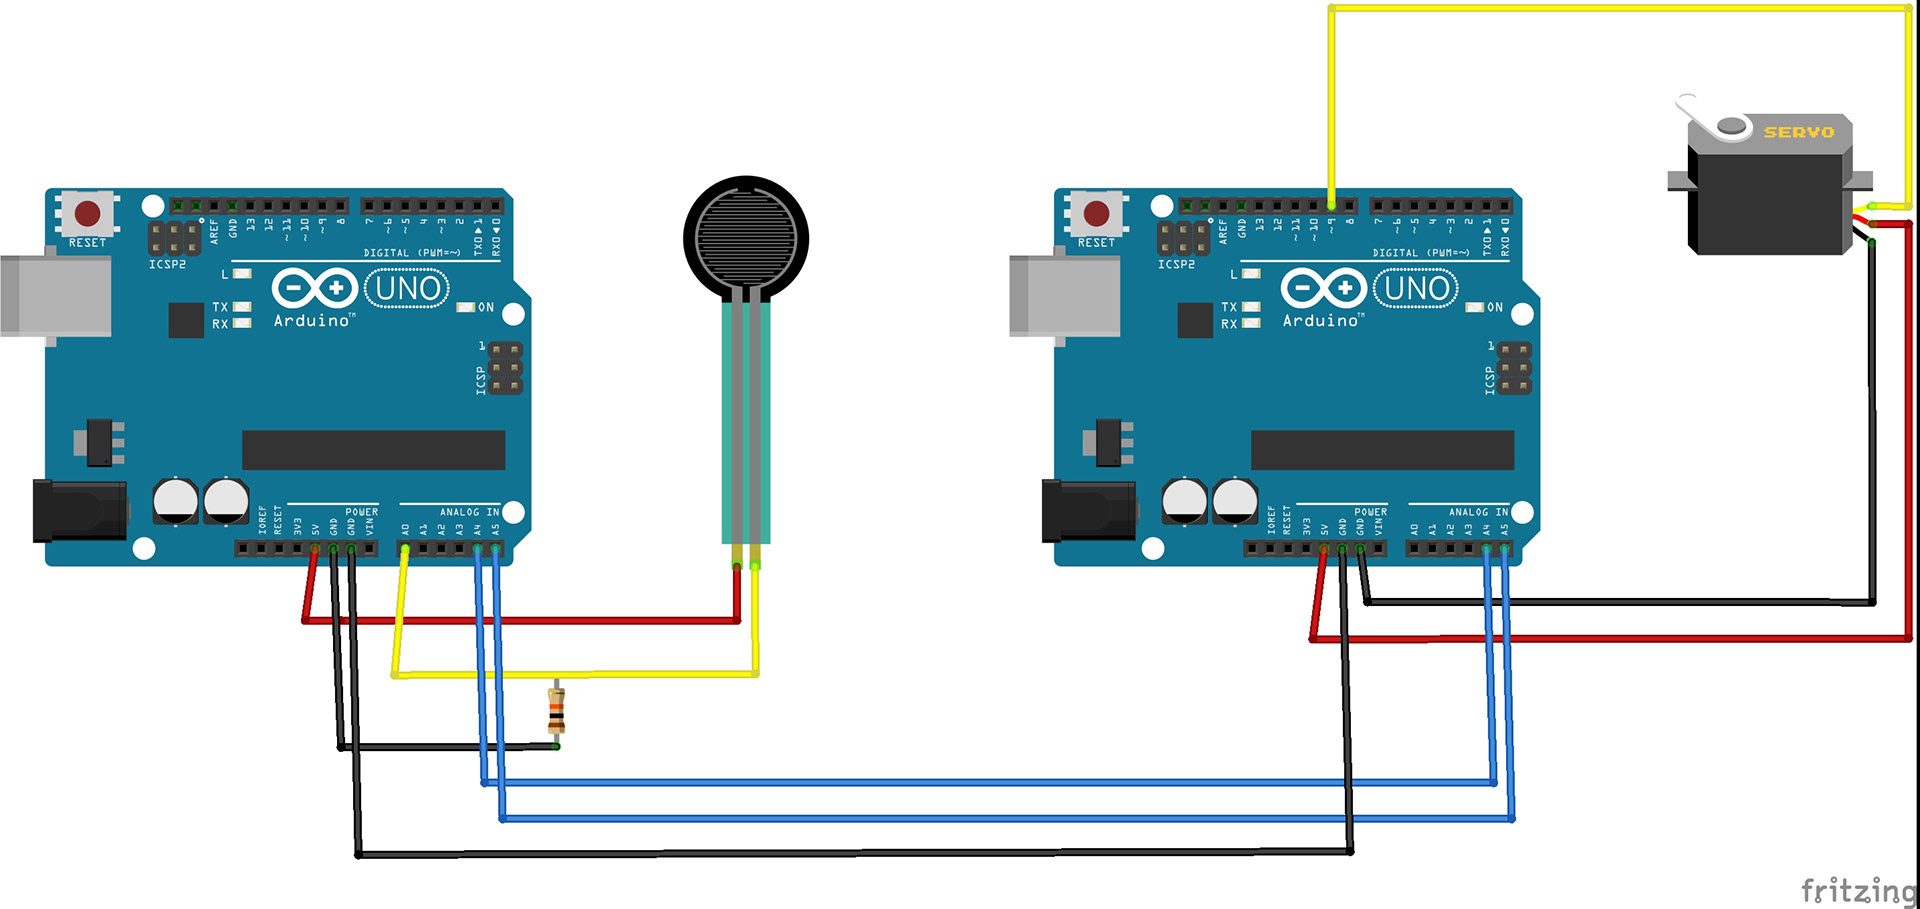
Below circuit diagram is what we ended up using for our final product.
We dropped the breadboard and connected and solder straight to the Arduino board since we circuit wasn't too complicated.

Force Sensing Resistor

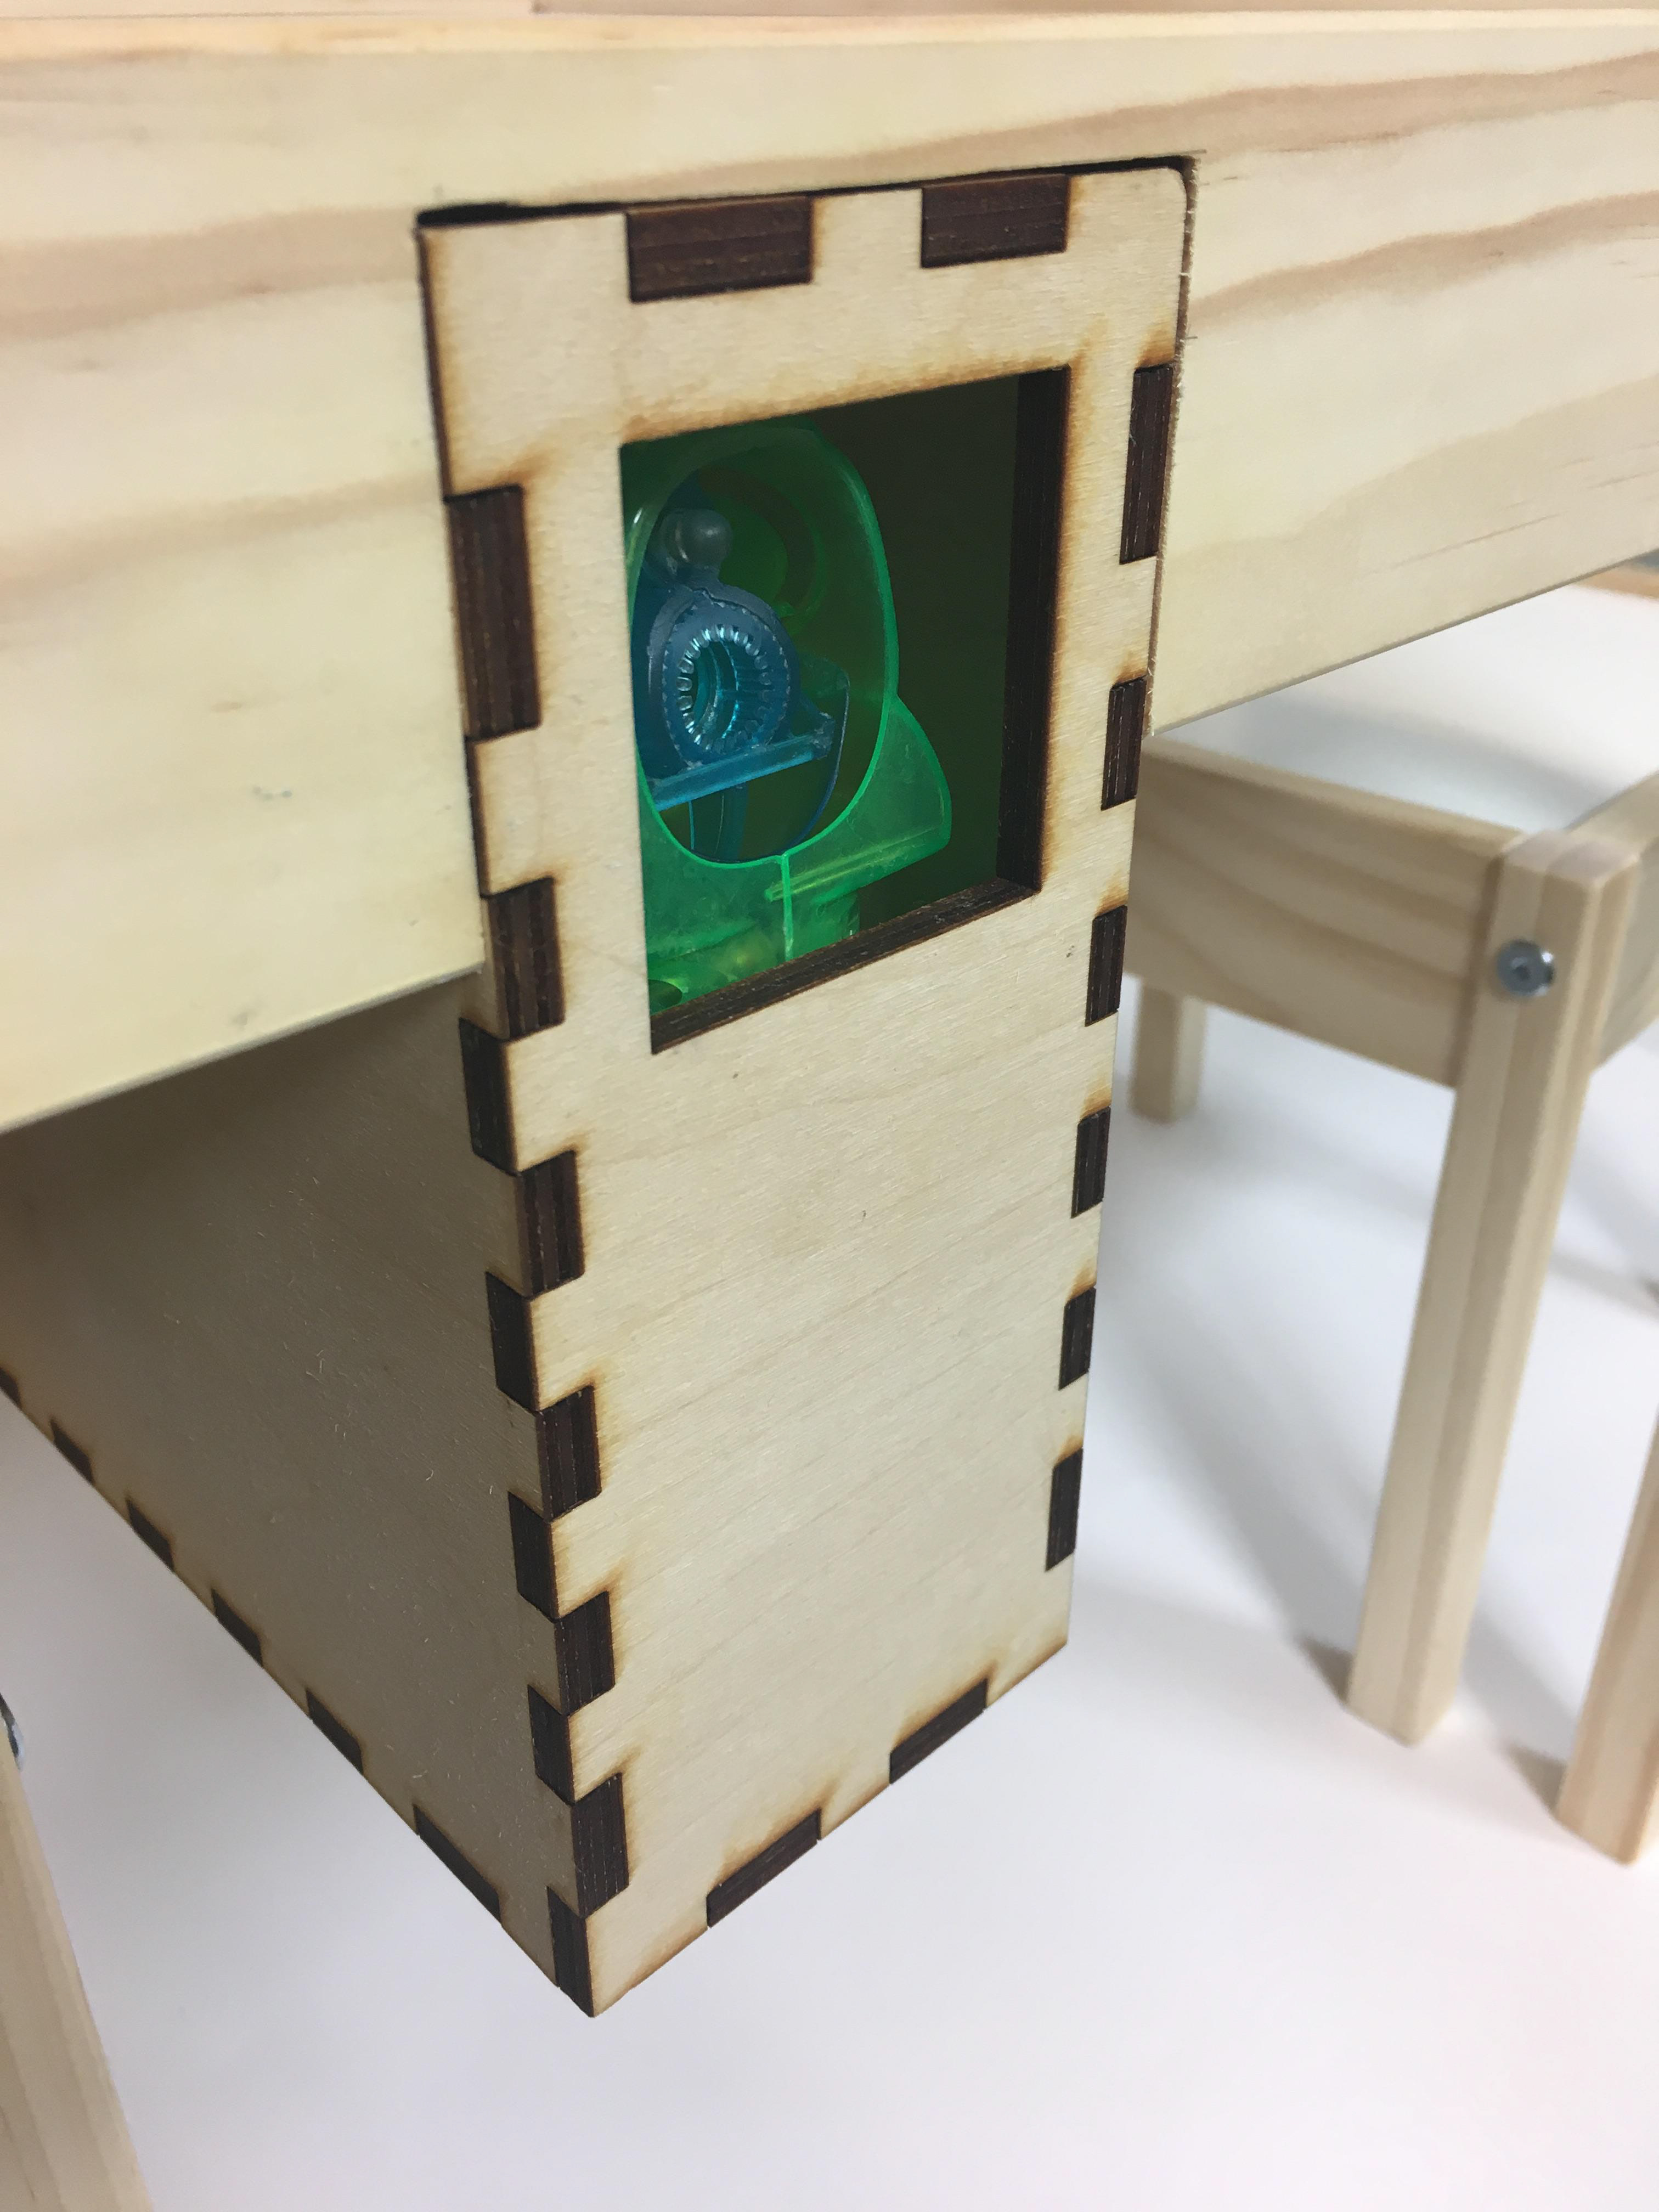
Servo Actuator
The servo is attached in the back of the bubble gun to trigger the button with a piano wire for
our final version.
our final version.

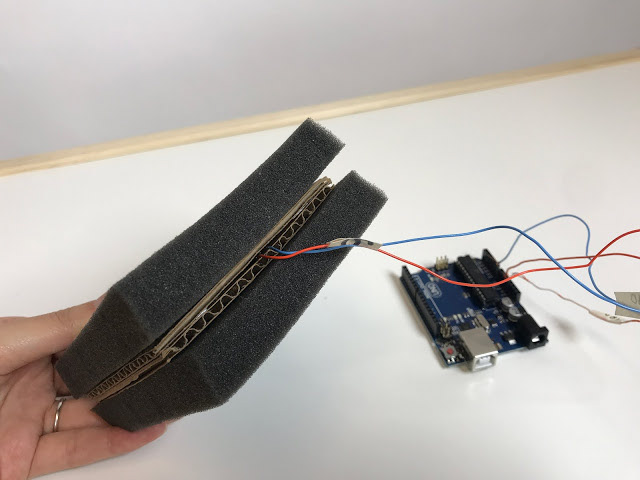
We added additional layers around the Force Sensing Resistor to make it easier to detect a hug from all sides of the pillow and give an accurate reading. We ended up using the first pictured diagram below with firm foam around two pieces of cardboard that holds the resistor.

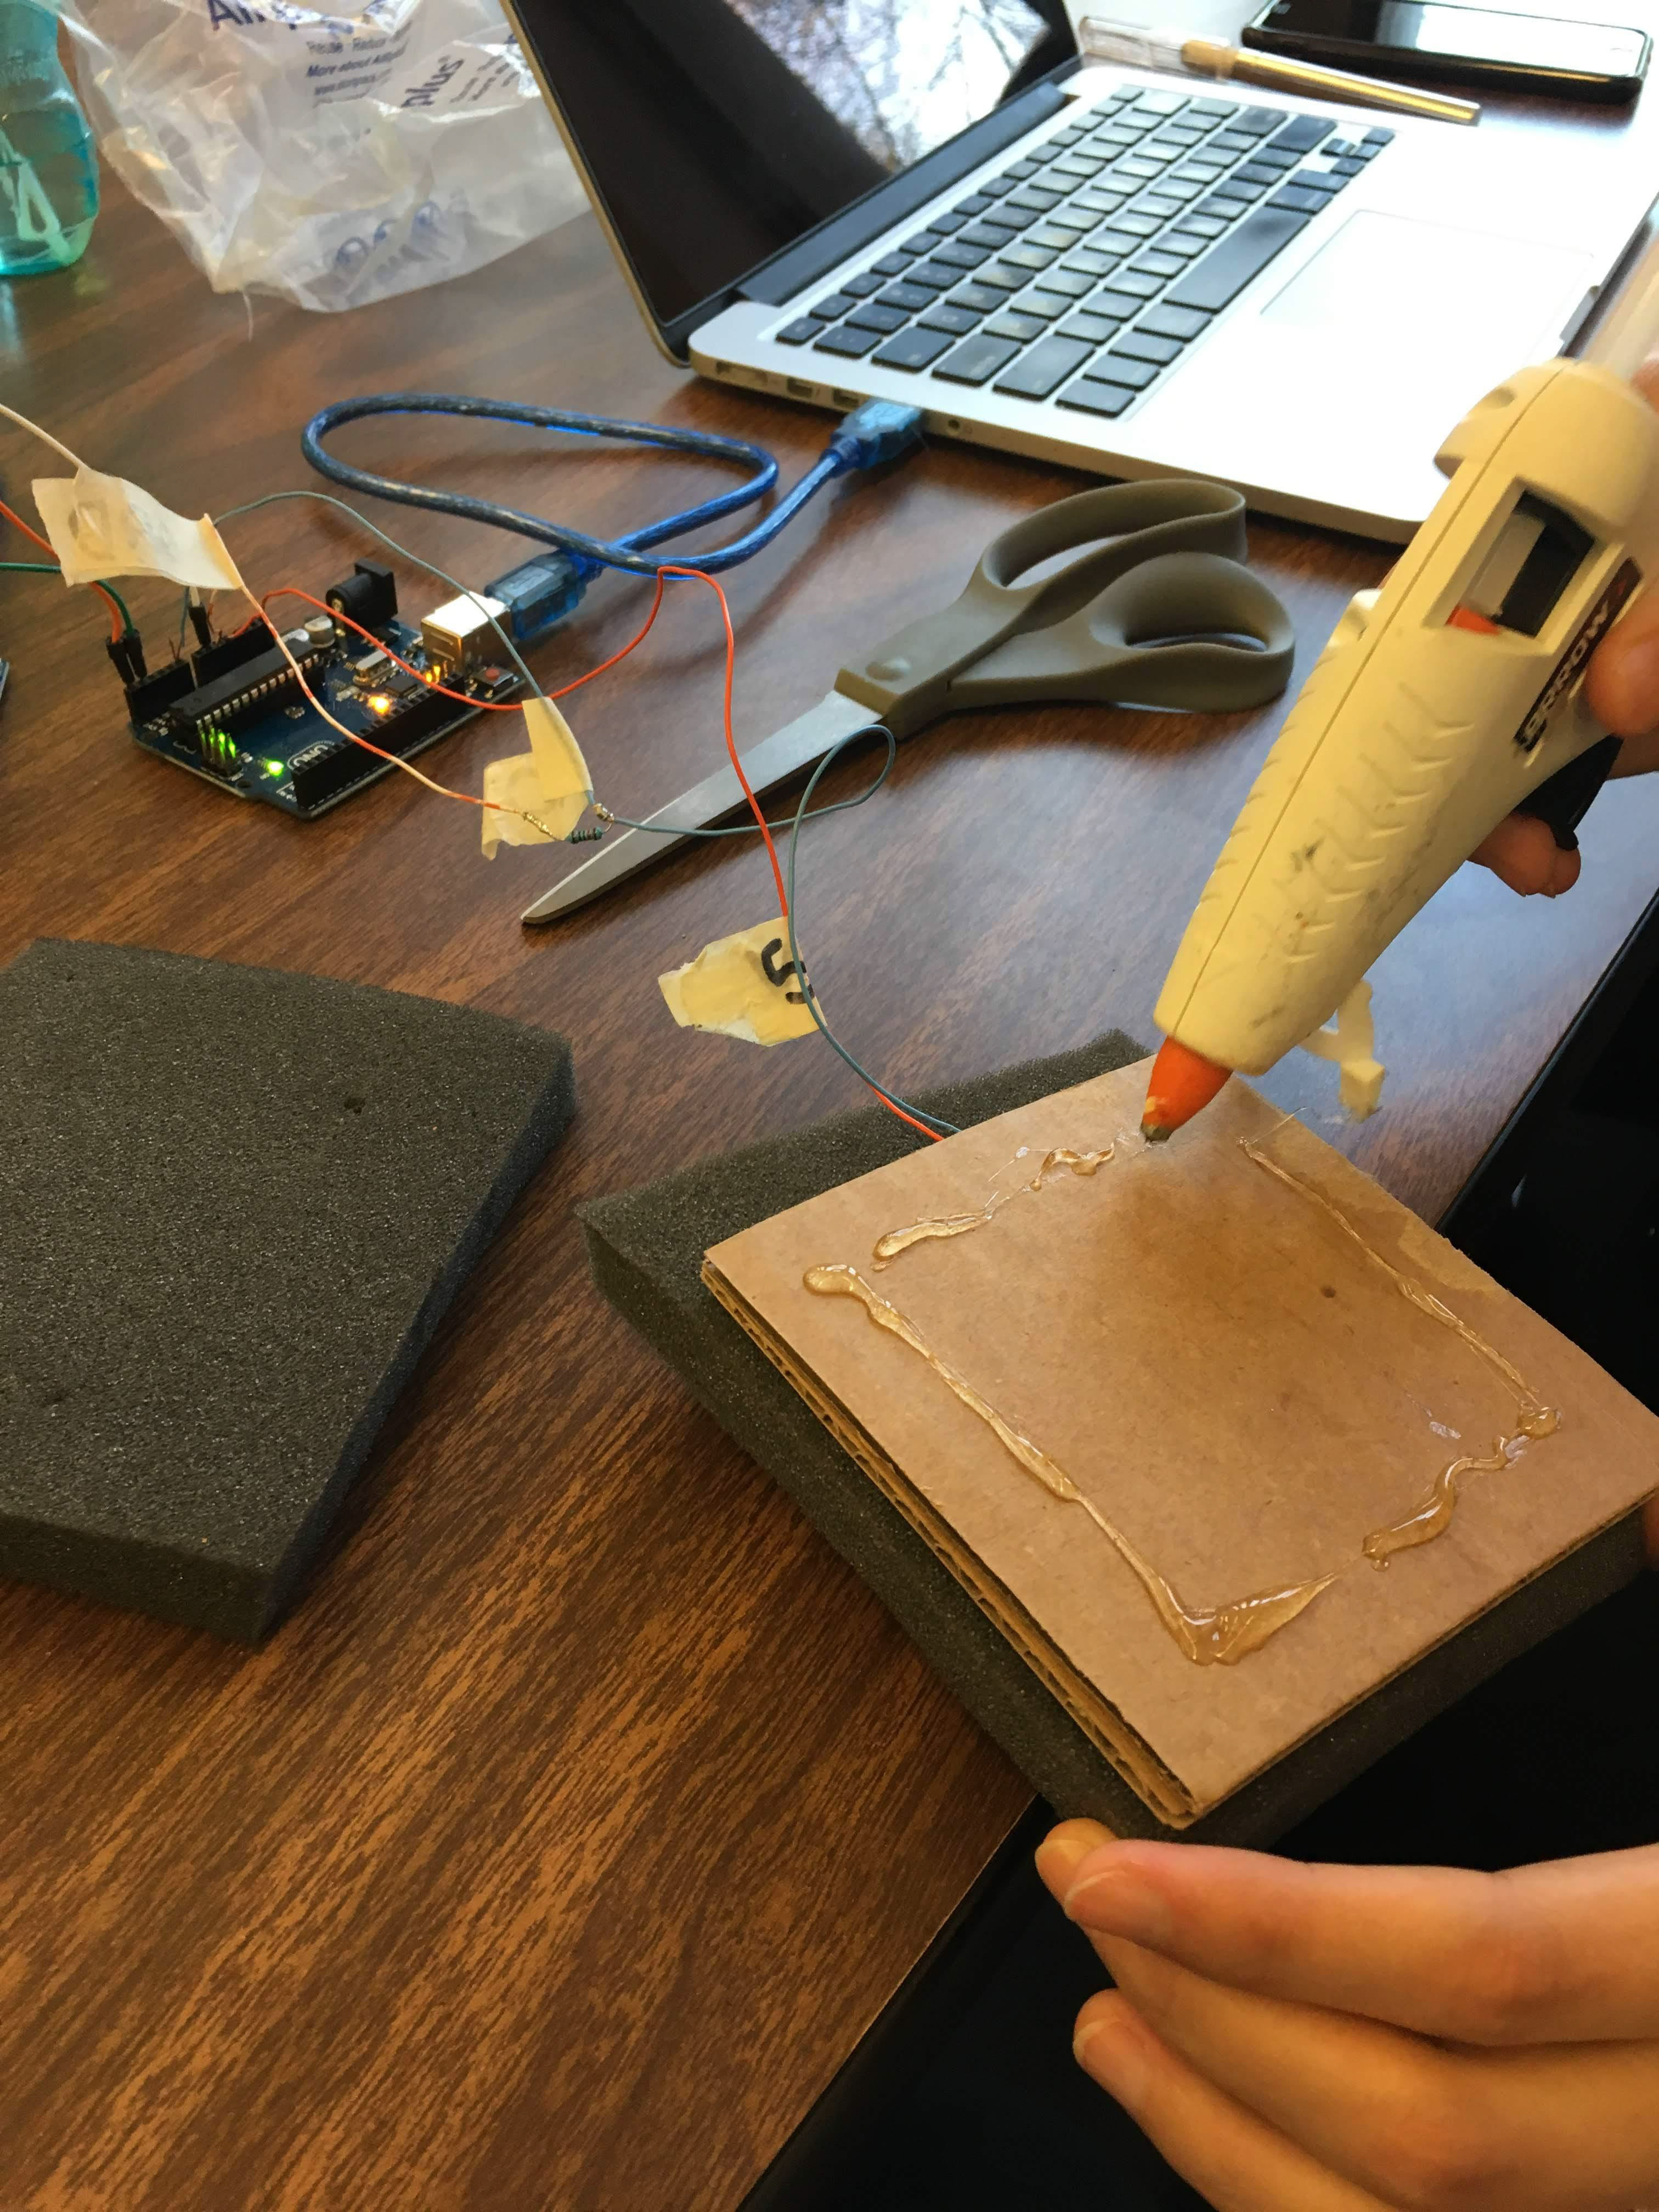
First, we added cardboards on both sides of the FSR to protect the sensor from bending or sensing unnecessary pressure. And then, we wanted some kind of bulky layer that could help to detect the hug from all sides. We tried inflated plastic zipper bags, air-filled packaging pillows, and foams with a few different firmness levels. Here are a couple of images showing some of our prototypes.


Here we are reinforcing the sensor once we figured out which one worked best.
To connect the two Arduino boards, we used this tutorial from Arduino website. This image
shows we first tried connecting them using a breadboard to ensure it worked before soldering
the hardware together.
shows we first tried connecting them using a breadboard to ensure it worked before soldering
the hardware together.
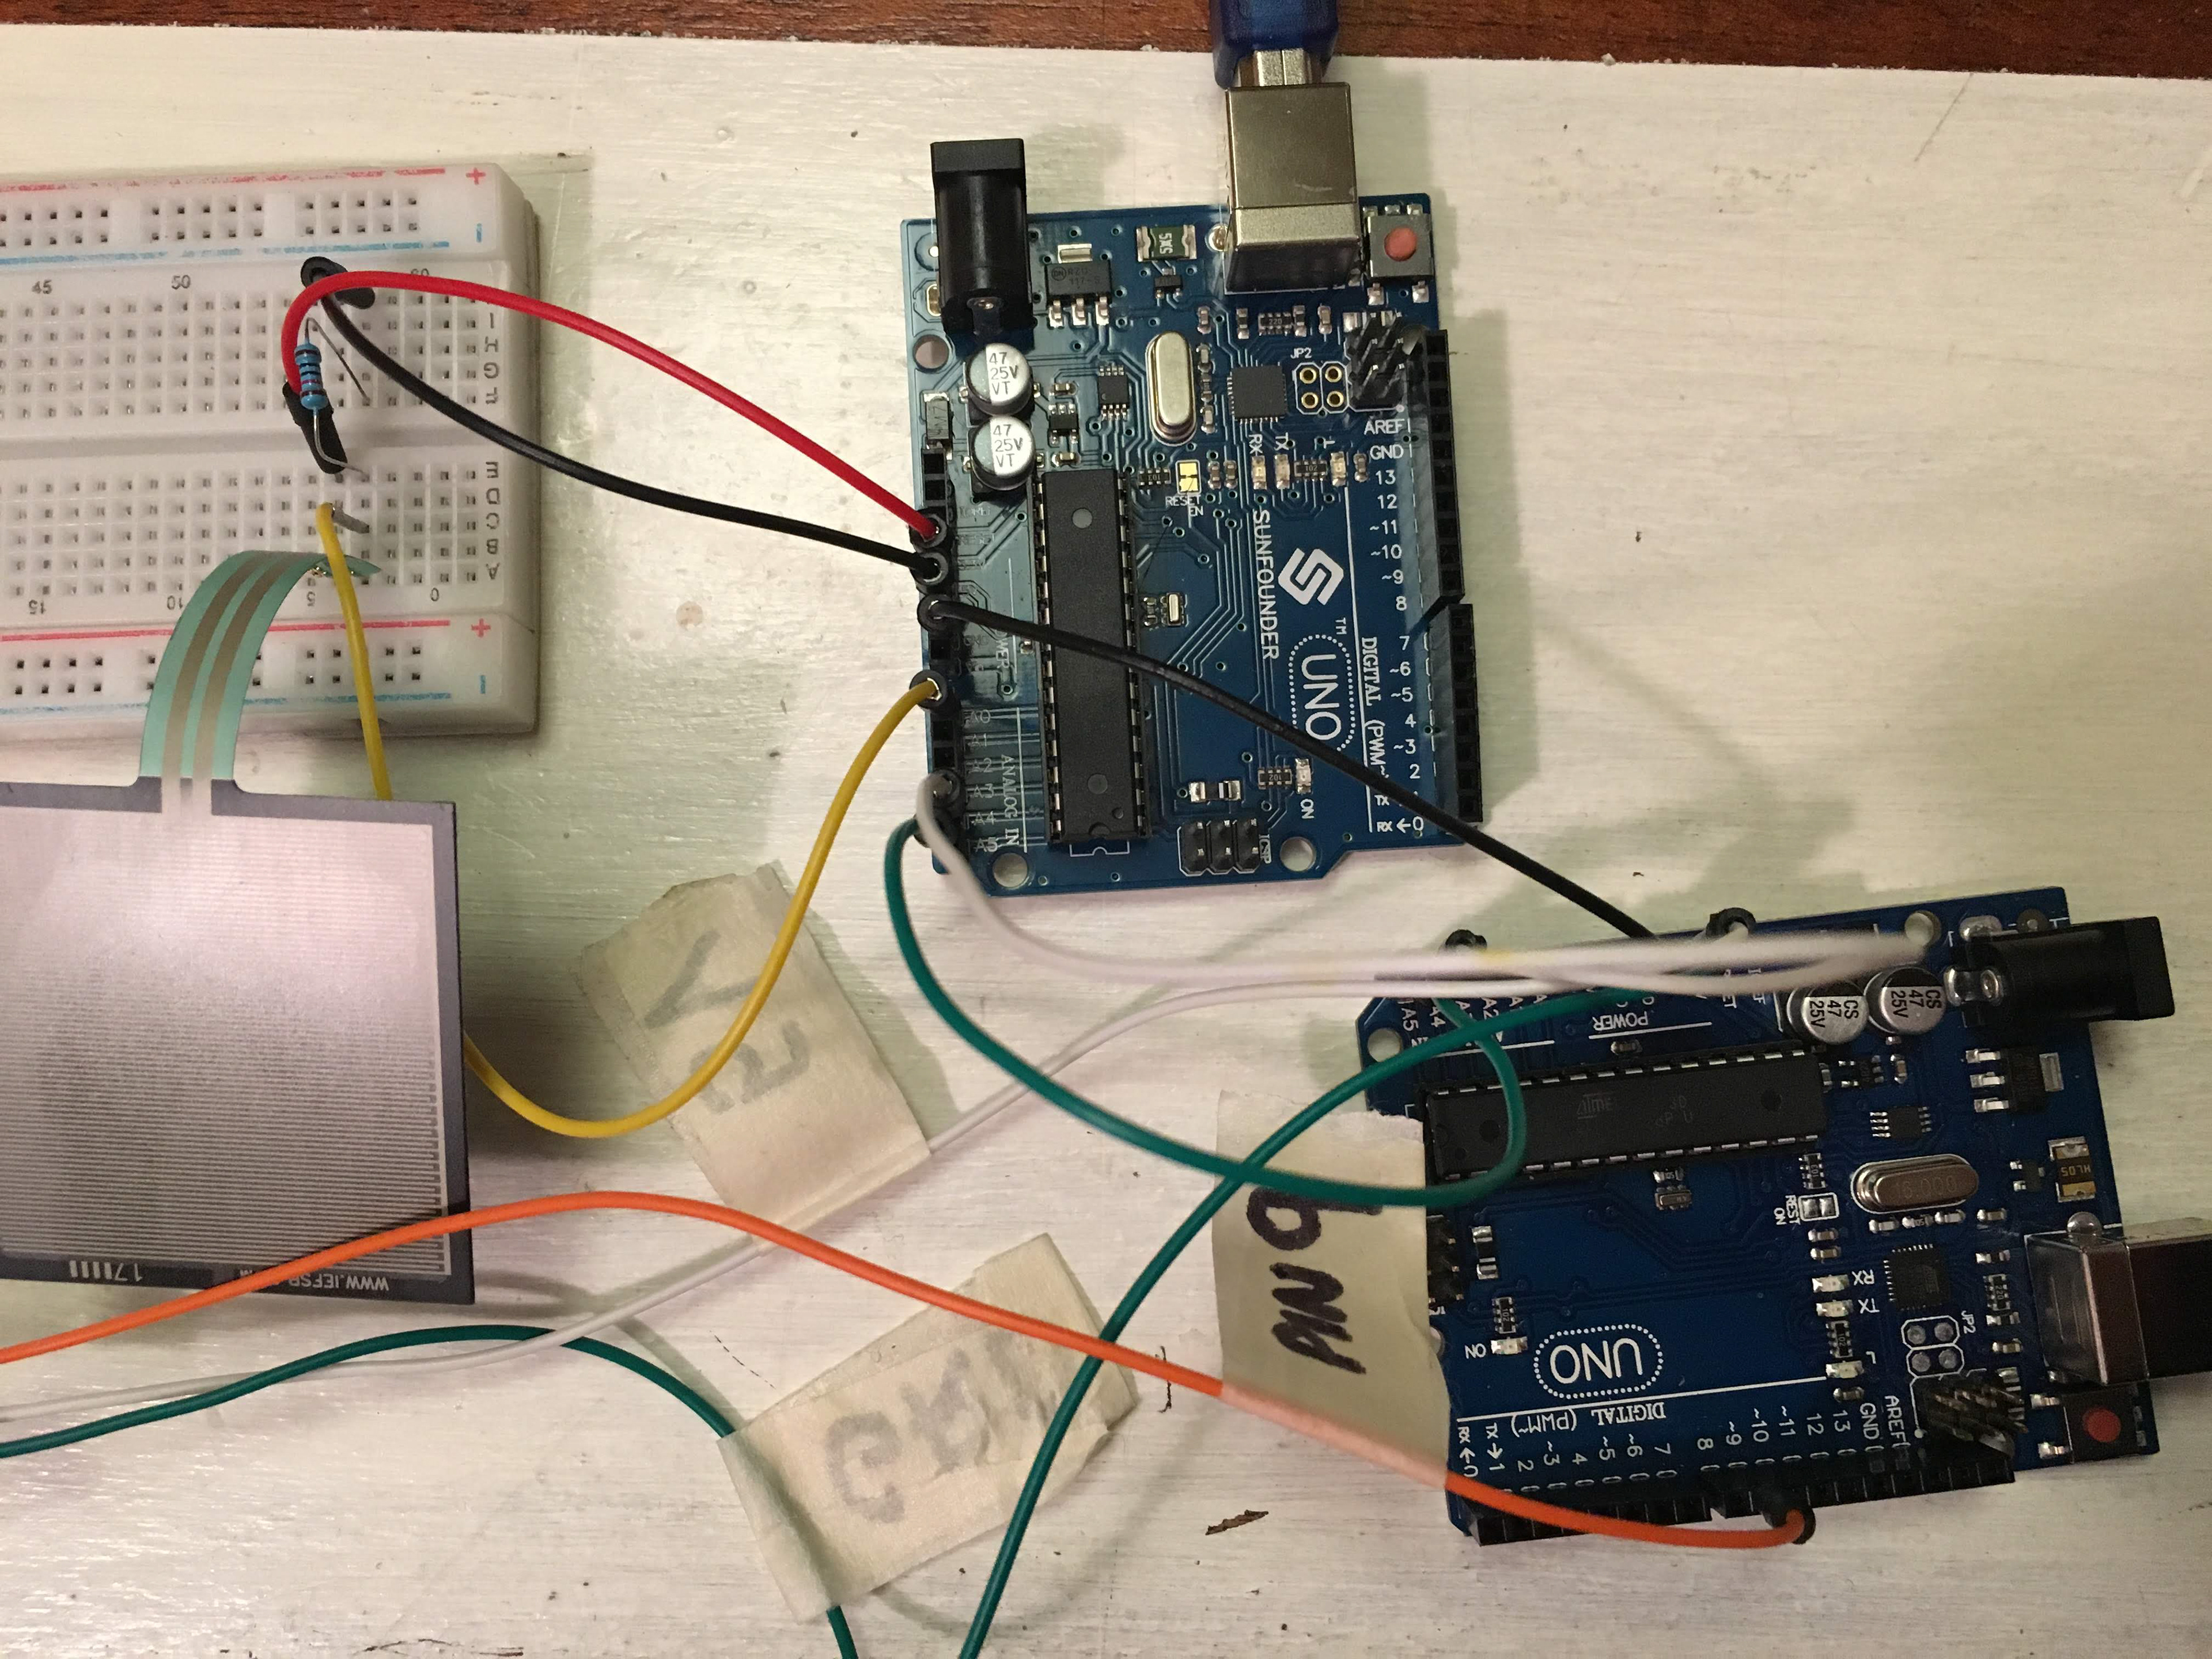
Showing how the two Arduino boards were connected
Once we had a working prototype we soldered the pieces together to make it more stable and to provide more accuracy.

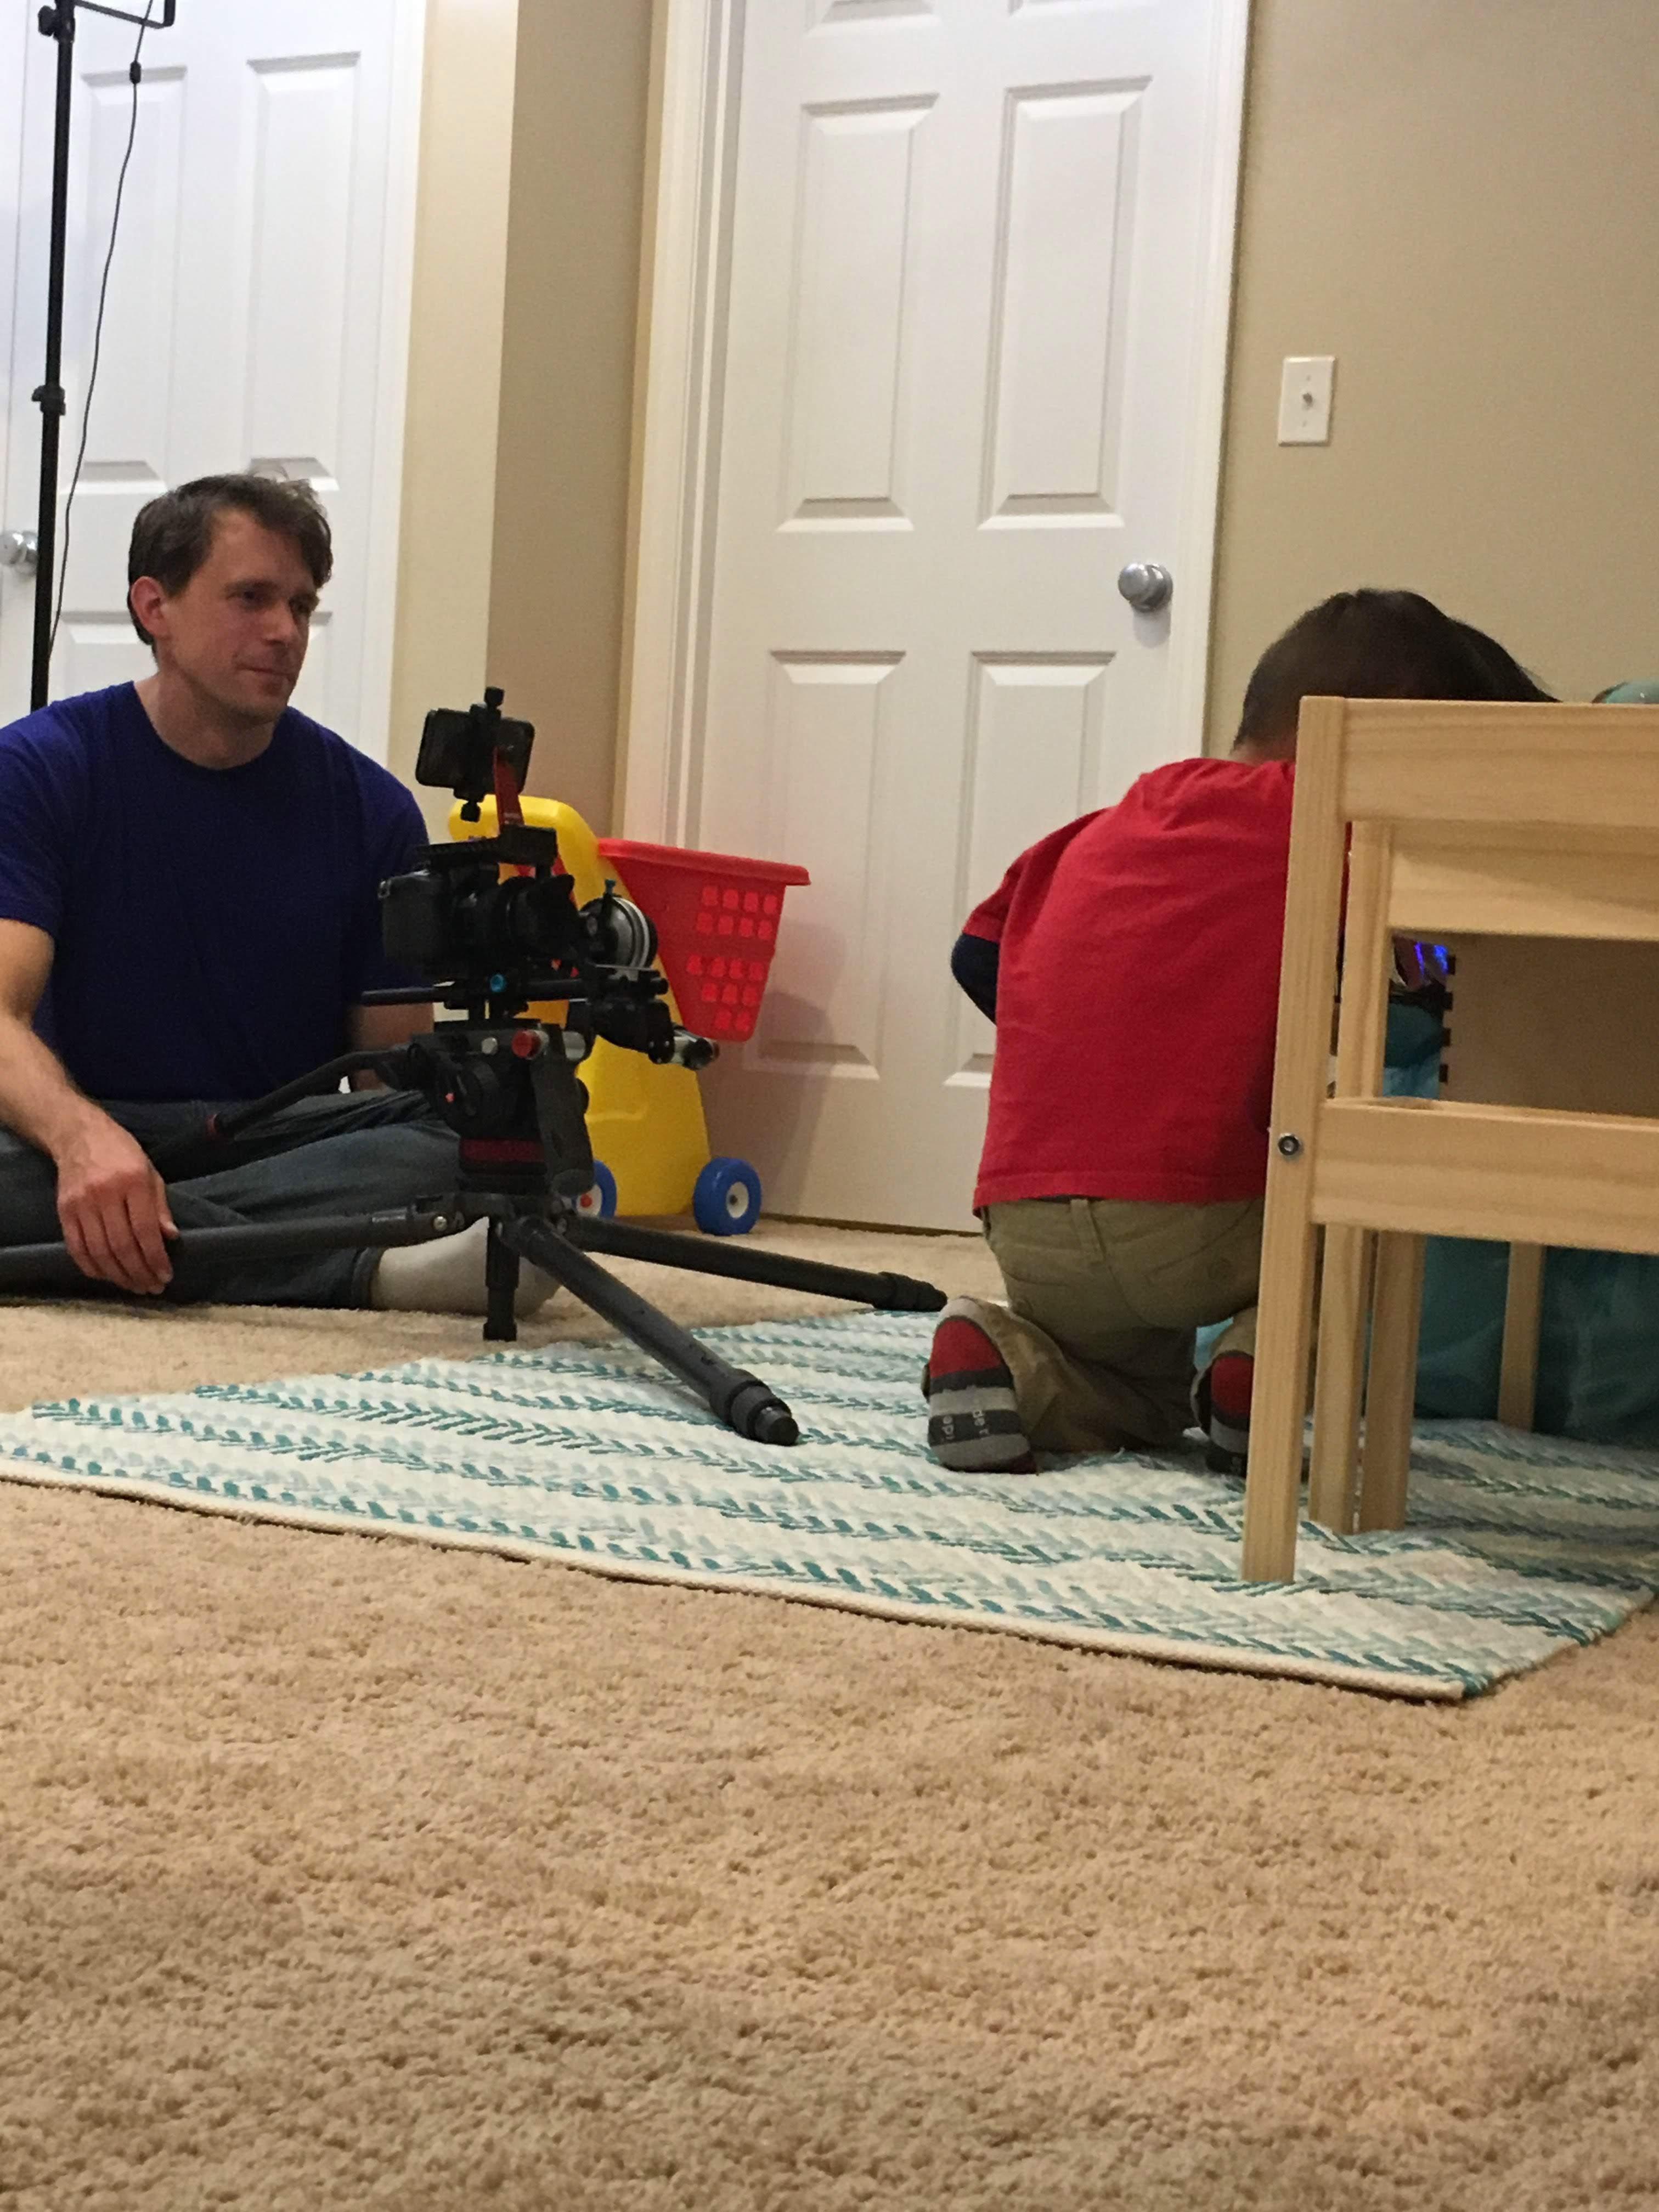
And last but not least, here is an image showing the filming of our product video.